
Applying for a student residence permit for Sweden from the Americas
Important information, begin doing these things asap: Ensure that you have your own bank account from now; no joint accounts unless it is with a spouse. Begin looking for the best consulate to apply from for you. Get documents like your passport and any necessary visas in order.
Congratulations to everyone who made it into the Karolinska Institutet. We cannot wait to welcome the class of 2024 and 2025. To those who made it into the Master’s of Global Health, I cannot tell you how excited we are for you. We guarantee that you will have an amazing year here at KI. By now, most of you are thinking about your student residence permits. If you will be studying in Sweden for more than 3 months, you are required to apply for a residence permit. The process is pretty simple on the Swedish migration agency’s website, but I can share my own experience here with you guys.
Here is what you should do to make the student permit application smoother.
1.) Begin filling out the application form
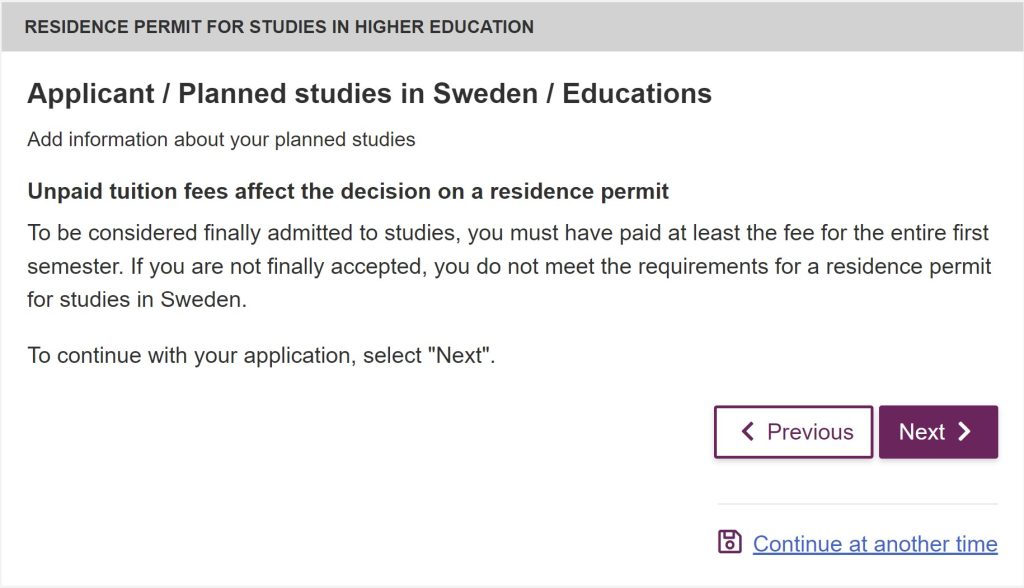
To apply for the residence permit, you will need to show proof of payment from the university to submit the application. However, you can begin the process before, and just continue on the day that you receive the proof of payment. They will ask for a digital copy of the information page of your passport so make sure to have these scanned and uploaded when you begin.
Important Note!!
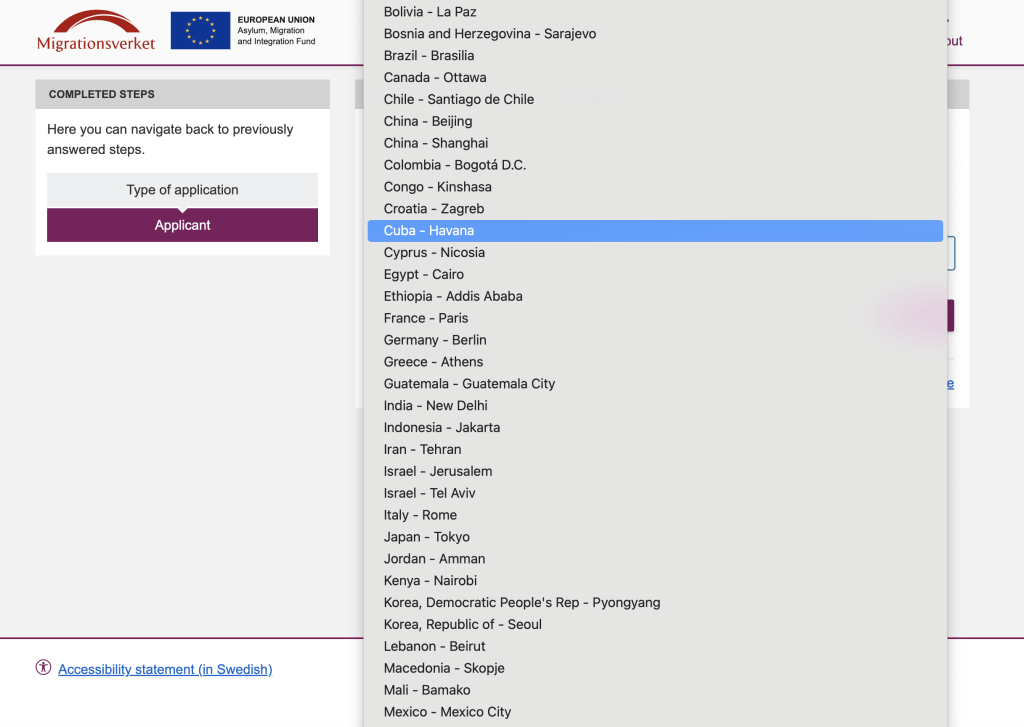
When beginning the application one of the first questions they will ask you is to choose an embassy or consulate for you to be in contact with. If you are from the US, the only embassy at this time is in Washington D.C.
If you are in the Caribbean, the only embassy at this time is in Cuba. Therefore, weigh your options of where the easiest place is to get to. I cannot stress this enough. If you are from the Caribbean, but have nowhere to stay in Argentina then do not choose this place as your consulate. If you choose the embassy in Washington D.C. please check your country’s requirements for a US visa, as you will need to have a visa to enter the US in order to get your Swedish residence permit. This is not a decision that should be taken lightly. They will also need to mail your decision letter back to your home country or wherever you stay so consider this.
While there are many Swedish consulate-generals in the Americas, a residence permit can only be processed at an actual embassy or appointed consulate. A list will be presented to you when you apply but there are a few in Latin America, one in Canada, one in the US and one in the Caribbean.
Swedish embassies and consulates in the Americas (at this time): Argentina, Bolivia, Brasil, Canada, Chile, Colombia, Cuba, Guatemala, Mexico, and the United States.
2.) Pay the application fee and show proof
You have to pay the application fee in order to submit the residence permit application form. If you have a scholarship, they will require you to submit proof of this by attaching it to the application form. If you will be paying out of pocket, they will require proof of payment. This is actually a mistake that I made. There are several ways to pay the fee, but I asked to pay via credit card. Once you do this you get an automatic reply stating that you have paid. I attached this reply. What I should have done was to attach the signed document stamped by KI that came a few days later stating that I paid. Luckily I was able to rectify this.
Tip!
KI does not give you proof of payment immediately. In my case it took 2 days to get this document from them which of course delayed the application process. Therefore, pay as early as possible and also begin your application as early as possible.
3.) Continue the application
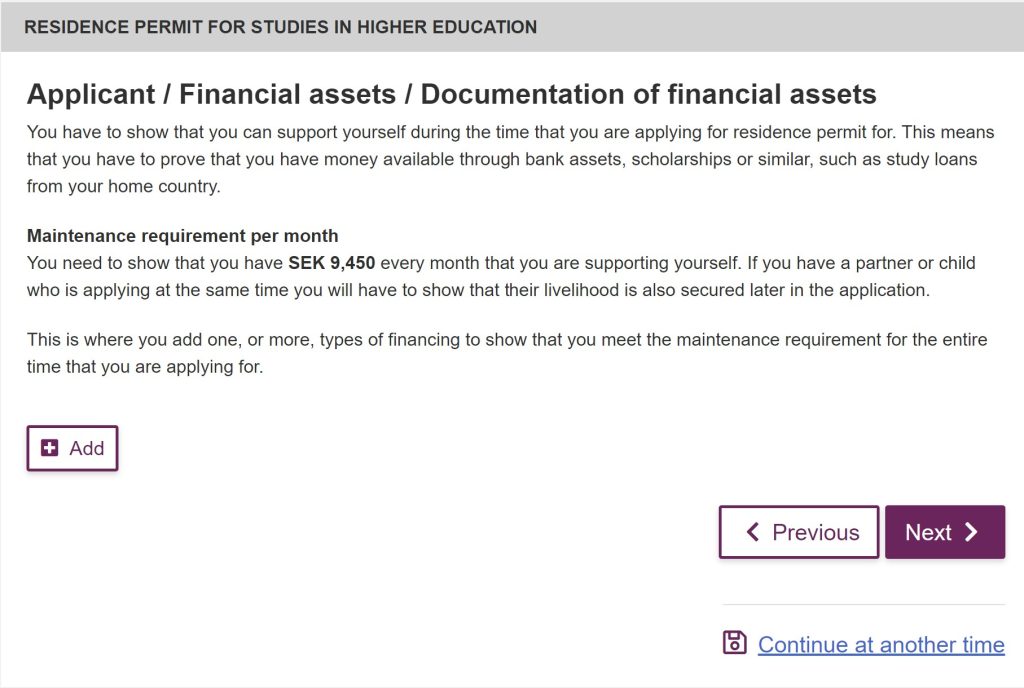
Once you have paid the fee you can continue filling out your application form, which should not take more than an hour if you have completed everything up until this point. They will require you to attach your bank statement showing that you can maintain yourself in Sweden while studying here. There is also a mini-essay question of about 1000 characters (not words) asking why you chose to study in Sweden, so be prepared.
Tip!
Try to get a copy of your bank statement as late as possible. So maybe the day before you submit or on the day you submit the application form. There is a maintenance requirement of SEK 9,450 per month, so you have to show that you have this money for the 1/2 years that you will be here, to live in Sweden and support yourself. If you have a scholarship, you can upload the document stating that the scholarship will cover these fees if it does. Some banks have official bank statements so do not forget to check if you need to apply a few days in advance.
Important note!!
You cannot use your parents’ bank statement even if they will be the ones paying your fees. The migration agency requires you to submit bank statements that are only in your name**. Not your name and your parent’s name. Just yours. If you are married, then a joint account with your spouse is allowed. However, it does not work with parents. It might be useful to create your own account from now and transfer the funds to avoid any necessary problems when the time comes to submit your application.
4.) After submission
After submitting the application you will get an email giving further instructions, or you will be asked to come in for an interview. Luckily for you guys, I was one of the randomly selected students asked to go into my embassy for an interview. Now I can share my experience there. People who do not have to go in for an interview will be contacted via email stating whether they have been granted their residence permit or not. For these lucky people please skip to number 6.
5.) Attending the interview
Three hours after submitting my application I was asked by the Migration Agency to contact my embassy for an interview. For me this was Washington D.C. I emailed the embassy who set a date 1 month later and sent a list of documents that I had to take to the interview with me. U.S. students online who also got selected for the interview said that it could take anywhere from 15 minutes to 1 hour. I was the lucky 2-hour person.
The interviewer assigned to me asked me questions regarding my family, my preparations for Sweden, the programme I chose, the syllabus, my future plans, and about the classes I could expect to take at KI. They have to type your answers manually, so be very clear and concise or you will take a long time. After the interview they asked me whether I would like to take my biometrics right there at that time or in Sweden. I chose to do it there. After, I had to pay a DHL fee for them to mail me my acceptance letter and I was finished.
Tip!
If you are from a country that does not require a visa to go to Sweden, you can choose to do your biometrics in Sweden. While this was tempting to me, I chose to do it in D.C. because the wait is much shorter. Going to Sweden could require you to wait for up to 6 weeks to get your residence permit. It was also comforting for me to have all of my documents sorted before passing through immigration. However, some of my classmates chose to do theirs in Sweden, just because it allowed them to leave earlier. Weigh the pros and cons and choose what is best for you.
Also, although I am from Trinidad and Tobago, I was able to ask the embassy to mail me the decision letter to my U.S. address, so this might be useful to some people who are living in a country different from their country of application.
6.) Waiting for a decision
I submitted my application on May 31st. Got booked for an interview on June 28th and received my decision on August 04th. The wait was extremely long. Waiting for the decision was no easy task since I had already rejected my place at other universities. Also being rejected for the student visa would have meant that I would have spent the year scrambling to find a job.
Now this is extremely personal advice that I realised is a good idea in hindsight now that I came to KI and heard that students’ residence permit applications could be rejected. A rejection is extremely rare, however, if you are a student who comes from a country where people have gotten rejected before, then take this time to look at alternatives to your year in Sweden. Most likely this will not happen but you will be in limbo for around 3 months wondering what your upcoming year would look like. I highly suggest keeping your options open as well as looking at possible jobs that you can get. It sounds abysmal but do what is best for you.
7.) Positive decision
If you get an email saying that your application has been accepted and your residence permit has been granted congratulations!! At this point, if you have done the Biometrics your UT card (residence permit card) will be sent to you after which you can enter Sweden hasslefree. If you do not need a visa to enter Sweden, you can go once your decision is positive and ask someone to send the UT card once it arrives. If you need a visa to go to Sweden then unfortunately you will have to wait until the card is sent to you to travel. This can take up to 3 weeks.
My advice is to be aware of deadlines and stuff like that. Let your programme leaders know if you will be late and keep in contact with the coordinators of your department.
Last bit of advice: try not to make mistakes. The Swedish migration agency is notorious for the length of time it takes to process permits pertaining to residency. Especially in June when most offices go on holiday (which they will send you an email saying). Every mistake you make is a setback. So check, double check and be as accurate as possible.
Breathe, you have this, and good luck!
** Something that confuses most students is if they have their own account and a parent is just a signatory. This was my case where my mum was just a signatory on my account and I had to create a whole new account with just my name on it and transfer the funds out which took a lot of time. So beware of this.
For more information here is a video on applying for a student visa in Sweden from Study in Sweden and the Swedish Migration Agency.

Zaynab - Global Health
Hi, my name is Zaynab and I am from Trinidad and Tobago, a country in the Caribbean. I am currently studying a Master’s in Global Health here at KI and am a blogger for the DA team. I look forward to sharing my experiences at KI and I also hope to expose students from the Caribbean to university life here in Sweden.
0 comments